Guide to Airbrush Makeup
You probably have heard of airbrushing when it comes to makeup application. Beauty magazines mention it, and many beauty products boast an “airbrushed finish.” But what is airbrush makeup exactly?
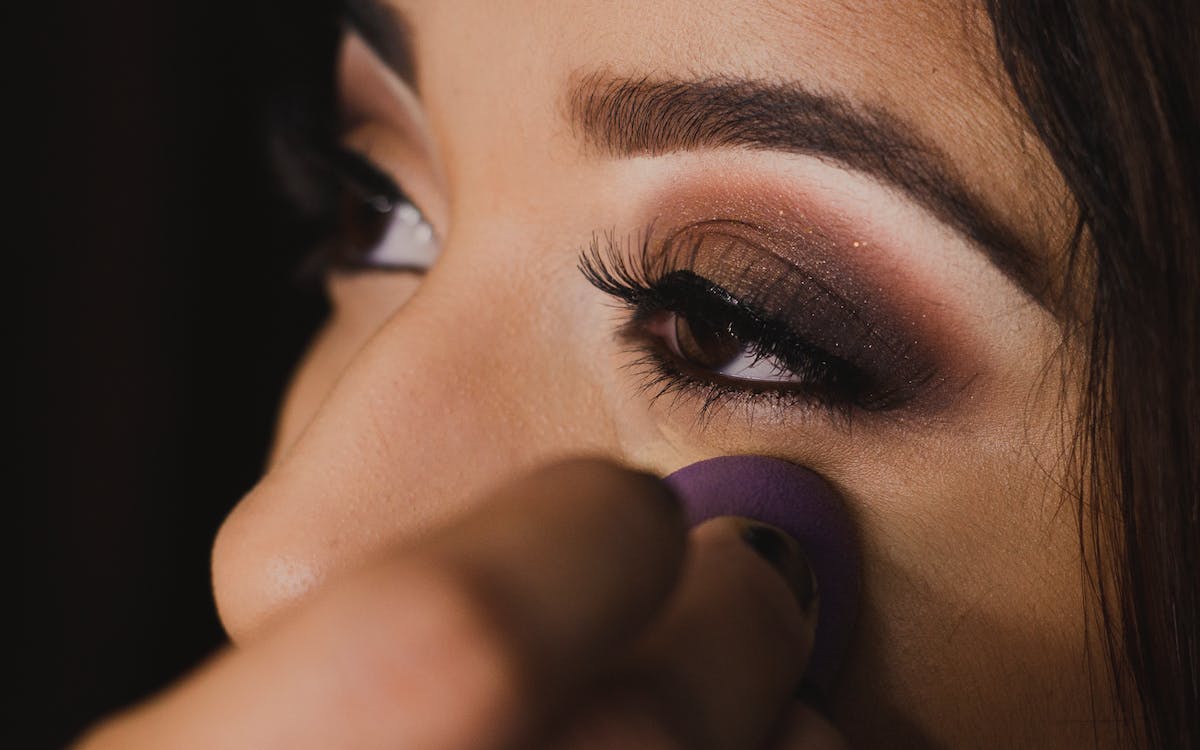
Airbrush makeup is a technique of applying flawless makeup quickly. It uses an airbrush system instead of using sponges, brushes, fingers or other methods. The technique is similar to how to spray tan is applied, but on a smaller scale because it’s applied to the face. The coverage can range from sheer to full as it is built up in layers to get the perfect look. This type of makeup application is popular in film, theater, and bridal makeup, but it doesn’t mean you can’t use it for personal, everyday use. A glamorous woman knows that beauty is an investment.
What is airbrush makeup used for?
Airbrush makeup has become popular with the rise of high-definition (HD) video and television. It’s also widely used by professionals for photoshoots, even those who went to makeup school online, as this makeup looks fantastic on camera. Traditional makeup that is made of powder or liquid can settle and appear in pores and wrinkles, which can be visible in HD. With airbrush makeup, the products are sprayed on and applied in such a fine mist that brings a flawless, natural-looking appearance. It is preferred by makeup artists, especially for events like weddings and proms, because it doesn’t only look great in camera, but it also looks pretty and natural in person too.
Airbrush makeup is typically used for foundation and makeup base, but it can also be used in applying blush, eyeshadow, eyebrows, and lips, and it can be layered, contoured, highlighted and shaded.
What are the benefits of airbrush makeup?
Due to its unique application technique, makeup products are dispersed finely into your face. This type of application brings many advantages, like:
1. It’s long-lasting
Airbrush makeup is preferred for weddings and events makeup because of its long-wearing appearance. It stays on longer than traditional powder or liquid foundation and is able to stay put for up to 12-24 hours. When used with a water-resistant makeup, it helps makeup to stay and won’t come off even if you sweat or get teary and emotional.
2. It’s very lightweight and natural-looking
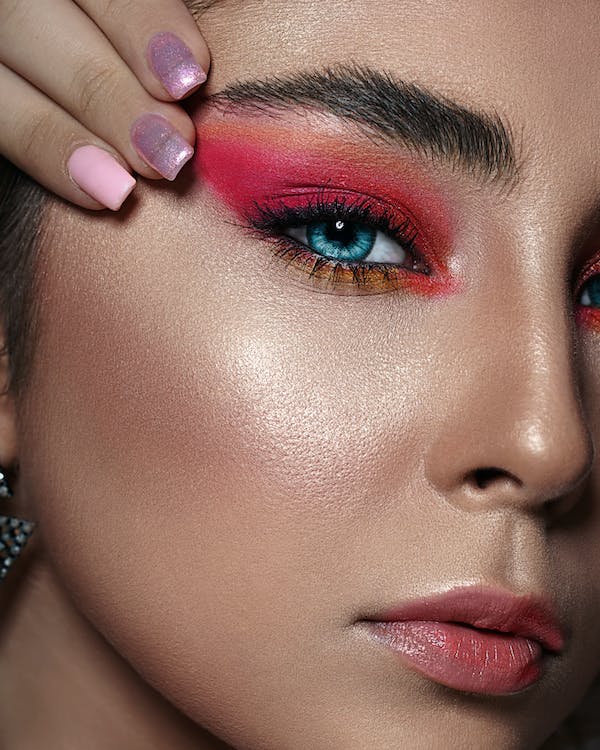
The pressurized air allows you to use minimal drops of foundation for your whole face, achieving the desired level of coverage with minimal product. This keeps your look looking natural, yet flawless and glamorous. It won’t look heavy and caked, even with full coverage. This is why it looks so great on camera – your layers of makeup won’t be obvious even in close-up photos. It’s a great choice for people who don’t want to look like they are wearing a lot of makeup.
3. It’s fast
Airbrush is the fastest and most effective way to apply makeup. If done by a trained artist, it applies makeup in a perfectly blended manner, so it means less time applied per face. This is also one of the reasons why it’s great for use for any events, like for instance if you need to save time putting makeup on all those bridesmaids and the bride (of course).
4. It’s more sanitary
Application-wise, this technique is more sanitary than traditional makeup application because the artist doesn’t need to touch the skin. Plus, it lessens the risk of irritation caused by using shared brushes, sponges, etc.
5. It can conceal anything
Because of its lightweight coverage, it can easily conceal anything without your skin looking caked. It can cover pimples, discoloration, freckles, and even birthmarks or tattoos if you like. Then at the end of the day, you can just wash the makeup off.
6. It’s gentle on the skin
Since airbrush makeup only skims the surface of the skin, it becomes more suitable for people with sensitive skin. This way, the makeup isn’t pushed down to the pores.
Different airbrush makeup formulas
Airbrush makeup can come in a mix of five different formulas:
- Water-based – In this type of formula, makeup has finely ground pigments dissipated in water. This makeup appears matte on the skin, making it easy to build full coverage. It is preferred by many, especially for working under bright lights so you don’t have the shine.
- Polymer-water-based – This was a mix of water, polymers and pigment, so when airbrushed on the skin, the polymer dries and leaves a continuous coating on the skin.
- Polymer-SD40-alcohol based – Instead of using water like polymer-water-based makeup, this formula uses alcohol, which assists with easy drying of the makeup on the skin.
- Alcohol-based – Alcohol-based makeup has amazing staying power, but it is not advised for daily use as it can be harsh on skin. It is also called “temporary airbrush inks.” These are generally used when creating fake tattoos.
- Silicon-based – This formula uses silicon to make makeup longer lasting and without fading. It has the finish of bare skin, as long as the shade of the product you use matches with your skin. But since it tends to deepen a shade once it is setting in, it’s best to always pick a lighter shade.
Tips for applying airbrush makeup
Before you start learning how to apply makeup using an airbrush machine, take notes of these basic pointers:
- Doing this style of makeup application is different from using conventional makeup. It’s best to read up manuals, read up more guides or watch instructional videos provided in the airbrush machine kit so you can learn how to handle the equipment properly.
- Airbrush method of applying makeup is best when it’s done by someone else, but you can do it yourself. With someone else doing the makeup for you, you can avoid chances of makeup getting into your eyes, which can cause eye irritations.
- Practice, practice, practice. Before using it for any event, make sure you practice on a piece of paper or practice on anyone’s face to get an idea as to how you can apply. Practice mixing the shades as well so you can try out what looks best.
- Apply airbrush makeup with the tip of the stylus six inches from the face. Use small bursts on selected areas for better control. Once you’ve gotten used to the machine, you can easily do layers and use regular bursts for a quicker finish.
- You can consult a reputable makeup artist for better suggestions. It’s also better if you have a friend who uses this type of makeup. She/he can help you gain better experience, and you can ask her/him as your testing face – she/he will know if you’re doing it wrong.
How to apply makeup using an airbrush machine
Each kit varies slightly when it comes to directions for use, but generally, here’s what you need to do:
- Cleanse and moisturize your skin first. Then, tie your hair out of your face. You don’t want stray hair to distract you while applying makeup.
- Set up the machine and set the desired pressure. Get used to it before adding any makeup to the cup. Airbrush makeup should be applied lightly so getting used to it before starting is vital for a flawless application.
- Shake each makeup bottle before use. Liquid makeup can separate or settle, so it’s important to shake it up before adding it to the stylus. Also, make sure that the foundation you use matches your skin.
- Add a few drops of product into the reservoir of the stylus, then hold the stylus 4-6 inches away from your face and press the trigger. Apply it in small circular motions. Don’t stop moving to avoid looking blotchy and spotty.
- Let each layer dry before adding another. If one layer of foundation or bronzer or blush isn’t enough, you can add another layer to achieve the perfect look – just don’t apply it right away. Don’t worry, it dries easily because it makes a fine layer of makeup in your skin.
- If it doesn’t come out great the first time, you can just wash it off.
- Cleanse your stylus after each use to prevent it from clogging. Use the cleaning solution included in some kits, and add them through the reservoir. Spray it unto a tissue. Clean the outside surface of the stylus using a cotton ball.
How does an airbrush makeup machine work?
If you’re interested in the mechanism of an airbrush makeup kit, read on.
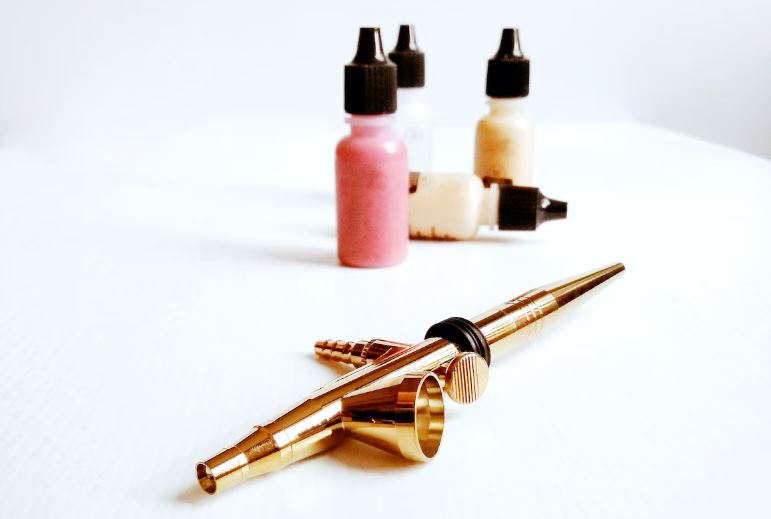
An airbrush makeup machine has three major parts: a powered compressor, an air hose, and stylus. The compressor creates an even and controllable airflow through the hose, which is connected to the stylus that you can control. Most of these kits are powered to maintain constant energy to and from the air compressor, but some kits have an optional battery pack, specially designed for applying makeup in an area where a power supply is not accessible.
The compressor and air hose do not vary much between airbrush makeup kits, but the stylus can be availed in different varieties. An airbrush stylus may vary in three features such as 1) the method of feeding the product to the system, 2) the point at which the product and air combine, and 3) the type of action the trigger has.
- The stylus has different methods of feeding a product into the system. It may be gravity, suction or side-fed. However, for airbrush makeup, the gravity-fed system is the most common because it needs less energy than other methods. This way, the product is applied to the reservoir sitting on top of the stylus and drawn down to the stylus chamber through gravity.
- The point at which the product and air combine are within the air chamber or outside the air chamber at the tip of the stylus. Usually, airbrush makeup kits utilize internal meeting point, since this is more suited for gravity-fed systems. This way, the mist produced out of the makeup product released from the stylus is finer and lighter, making makeup look more natural and less likely to cause blobs.
- The type of action the trigger has is the area where airbrush makeup machines vary most often. You have two options: single or dual action.
A single action trigger can release air pressure and product in one with a fixed ratio. It’s generally easier to use. In order to achieve different levels of coverage and detail, you have to change the nozzle between applications. Meanwhile, a dual action airbrush will allow you to alter both air pressure and the product. You can control airflow by depressing the trigger with the index finger and then drawing it backward. The further the trigger is pressed, the more makeup is released. Also be sure to check out this weeding airbrush makeup kit review.
Makeup artists generally work with a PSI range of between 0-35 PSI. A low PSI is preferable when it comes to airbrushing makeup around the face and eyes, while body application like covering blemishes or tanning is faster and easier with a higher PSI.